
Vue 3 introduced the Composition API, a new way to organize and reuse logic in components. Unlike the traditional Options API, where logic can get scattered across data, methods, computed, and watch, the Composition API lets you group related code together using functions.
One of the most powerful features of the Composition API is the concept of composables.
A composable is simply a function (usually starting with use) that encapsulates stateful logic and can be reused across multiple components. Instead of rewriting the same logic in different components, you can create a composable once and use it anywhere in your app.
Why Use Composables?
-
Code Reusability: Write once, use anywhere.
-
Cleaner Components: Extract logic out of components for readability.
-
Separation of Concerns: Each composable can handle one piece of logic (e.g., form handling, API fetching).
-
Testability: Easier to test isolated functions than entire components.
What You’ll Learn in This Tutorial
In this tutorial, we’ll walk through how to:
-
Create a simple composable for a counter.
-
Build a more practical composable for form handling.
-
Create a reusable API-fetching composable.
-
Learn best practices for structuring and using composables.
By the end, you’ll have a solid understanding of how to create your own custom composables in Vue 3 and how to use them effectively in real-world applications.
1. Project Setup
To follow along with this tutorial, you’ll need:
-
Node.js (v18 or later recommended)
-
npm or yarn
We’ll use Vite to create a new Vue 3 project since it’s fast and lightweight.
Step 1: Create a Vue 3 Project with Vite
Run the following command in your terminal:
npm create vite@latest vue3-composablesWhen prompted:
-
Select Vue as the framework.
-
Select JavaScript (or TypeScript if you prefer).
Then navigate into the project folder and install dependencies:
cd vue3-composables
npm install
Step 2: Run the Development Server
Start the dev server with:
npm run devOpen your browser and go to http://localhost:5173. You should see the default Vite + Vue welcome page.

Step 3: Set up Folder Structure for Composables
Inside the src folder, create a new folder named composables. This is where we’ll store all of our reusable logic functions.
Your project structure should look like this:
vue3-composables/
├─ src/
│  ├─ assets/
│  ├─ components/
│  ├─ composables/   <-- our custom composables will go here
│  ├─ App.vue
│  ├─ main.js
├─ index.html
├─ package.json
Now we’re ready to start building our first custom composable.
2. Basic Example: A Counter Composable
To start simply, we’ll create a counter composable. This will help demonstrate how composables work with ref, computed, and reusable functions.
Step 1: Create useCounter.js
Inside the src/composables/ folder, create a new file called useCounter.js:
// src/composables/useCounter.js
import { ref, computed } from 'vue'

export function useCounter(initialValue = 0) {
  const count = ref(initialValue)

  const increment = () => count.value++
  const decrement = () => count.value--
  const reset = () => (count.value = initialValue)

  const double = computed(() => count.value * 2)

  return {
    count,
    increment,
    decrement,
    reset,
    double,
  }
}
How It Works
-
count→ a reactive state managed withref. -
increment,decrement,reset→ methods to manipulate the state. -
double→ a computed property derived fromcount. -
Finally, everything is returned so it can be used inside components.
Step 2: Use the Composable in a Component
Now let’s use our composable in the main app. Open App.vue and replace its content with:
<template>
  <div class="app">
    <h1>Vue 3 Counter Composable</h1>
    <p>Count: {{ count }}</p>
    <p>Double: {{ double }}</p>
    <button @click="increment">Increment</button>
    <button @click="decrement">Decrement</button>
    <button @click="reset">Reset</button>
  </div>
</template>

<script setup>
import { useCounter } from './composables/useCounter'

const { count, increment, decrement, reset, double } = useCounter(5)
</script>

<style>
.app {
  font-family: Arial, sans-serif;
  padding: 2rem;
}
button {
  margin: 0.5rem;
}
</style>
Step 3: Test It
Go to http://localhost:5173 and try clicking the buttons. You should see:
-
The count value is increasing/decreasing.
-
The double value is updated automatically.
-
Clicking reset restores the count to
5(the initial value we passed).

✅ With this, we’ve built and used our first custom composable.
3. Intermediate Example: Form Handling Composable
Forms are common in web apps, and many times we repeat logic like input binding, validation, and resetting. Let’s move that into a reusable composable.
Step 1: Create useForm.js
Inside the src/composables/ folder, create a new file called useForm.js:
// src/composables/useForm.js
import { ref, reactive } from 'vue'

export function useForm(initialValues = {}) {
  const form = reactive({ ...initialValues })
  const errors = ref({})

  const validate = (rules) => {
    const newErrors = {}
    for (const field in rules) {
      const value = form[field]
      const fieldRules = rules[field]

      if (fieldRules.required && !value) {
        newErrors[field] = `${field} is required`
      } else if (
        fieldRules.minLength &&
        value.length < fieldRules.minLength
      ) {
        newErrors[field] = `${field} must be at least ${fieldRules.minLength} characters`
      }
    }
    errors.value = newErrors
    return Object.keys(newErrors).length === 0
  }

  const reset = () => {
    for (const key in initialValues) {
      form[key] = initialValues[key]
    }
    errors.value = {}
  }

  return {
    form,
    errors,
    validate,
    reset,
  }
}
How It Works
-
form→ reactive object holding form state. -
errors→ a reactive object for validation errors. -
validate(rules)→ runs simple rules likerequiredandminLength. -
reset()→ restores the form to its initial values.
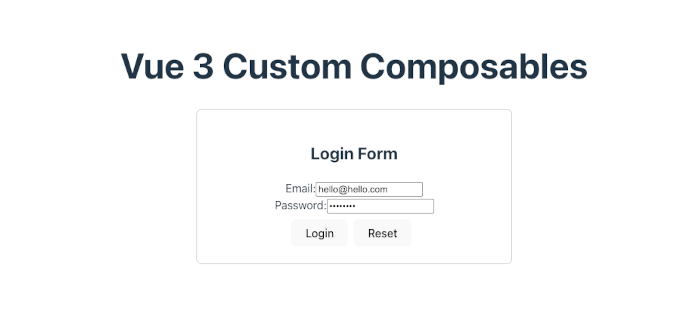
Step 2: Use the Composable in a Login Form
Now let’s use it in a login form. Create a new file LoginForm.vue inside src/components/:
<template>
<div class="form-container">
<h2>Login Form</h2>
<form @submit.prevent="handleSubmit">
<div>
<label>Email:</label>
<input v-model="form.email" type="email" />
<span v-if="errors.email" class="error">{{ errors.email }}</span>
</div>
<div>
<label>Password:</label>
<input v-model="form.password" type="password" />
<span v-if="errors.password" class="error">{{ errors.password }}</span>
</div>
<button type="submit">Login</button>
<button type="button" @click="reset">Reset</button>
</form>
</div>
</template>
<script setup>
import { useForm } from '../composables/useForm'
const { form, errors, validate, reset } = useForm({
email: '',
password: '',
})
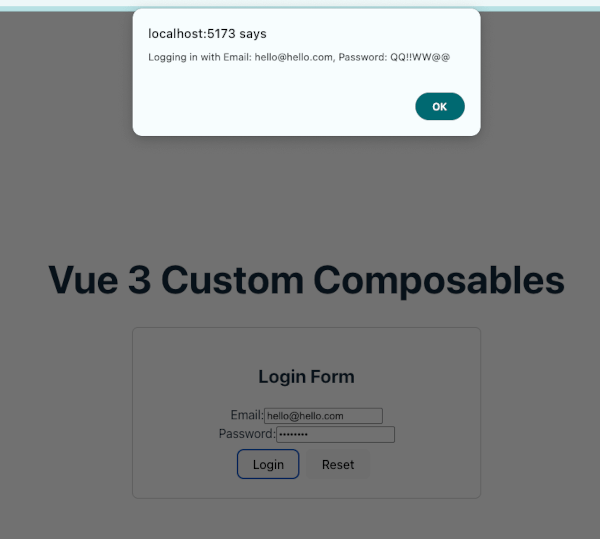
const handleSubmit = () => {
const isValid = validate({
email: { required: true },
password: { required: true, minLength: 6 },
})
if (isValid) {
alert(`Logging in with Email: ${form.email}, Password: ${form.password}`)
}
}
</script>
<style>
.form-container {
max-width: 400px;
margin: 2rem auto;
padding: 1.5rem;
border: 1px solid #ccc;
border-radius: 8px;
}
.error {
color: red;
font-size: 0.9rem;
margin-left: 0.5rem;
}
button {
margin: 0.5rem 0.5rem 0 0;
}
</style>Step 3: Import the Form into App.vue
Replace App.vue with:
<template>
  <div class="app">
    <h1>Vue 3 Custom Composables</h1>
    <LoginForm />
  </div>
</template>

<script setup>
import LoginForm from './components/LoginForm.vue'
</script>
Step 4: Test It
-
Try submitting the form empty → you’ll see error messages.
-
Enter a short password (e.g., 123) → password error will appear.
-
Enter valid data → alert box will show login info.
-
Click Reset → clears the form.
✅ With this, we’ve created a form handling composable that makes managing forms and validation much easier.
4. Advanced Example: API Fetching Composable
Many Vue components need to fetch data from an API. Instead of duplicating logic for loading states, errors, and retries, we can move it all into a composable.
Step 1: Create useFetch.js
Inside src/composables/, create a new file called useFetch.js:
// src/composables/useFetch.js
import { ref, onMounted } from 'vue'

export function useFetch(url, options = {}) {
  const data = ref(null)
  const error = ref(null)
  const loading = ref(true)

  const fetchData = async () => {
    loading.value = true
    error.value = null

    try {
      const response = await fetch(url, options)
      if (!response.ok) {
        throw new Error(`Error: ${response.status}`)
      }
      data.value = await response.json()
    } catch (err) {
      error.value = err.message
    } finally {
      loading.value = false
    }
  }

  // Fetch immediately when mounted
  onMounted(fetchData)

  return {
    data,
    error,
    loading,
    refetch: fetchData,
  }
}
How It Works
-
data,error,loading→ reactive states. -
fetchData→ makes the request, handles errors, and updates states. -
onMounted(fetchData)→ fetches immediately when component loads. -
refetch→ lets components trigger a new fetch.
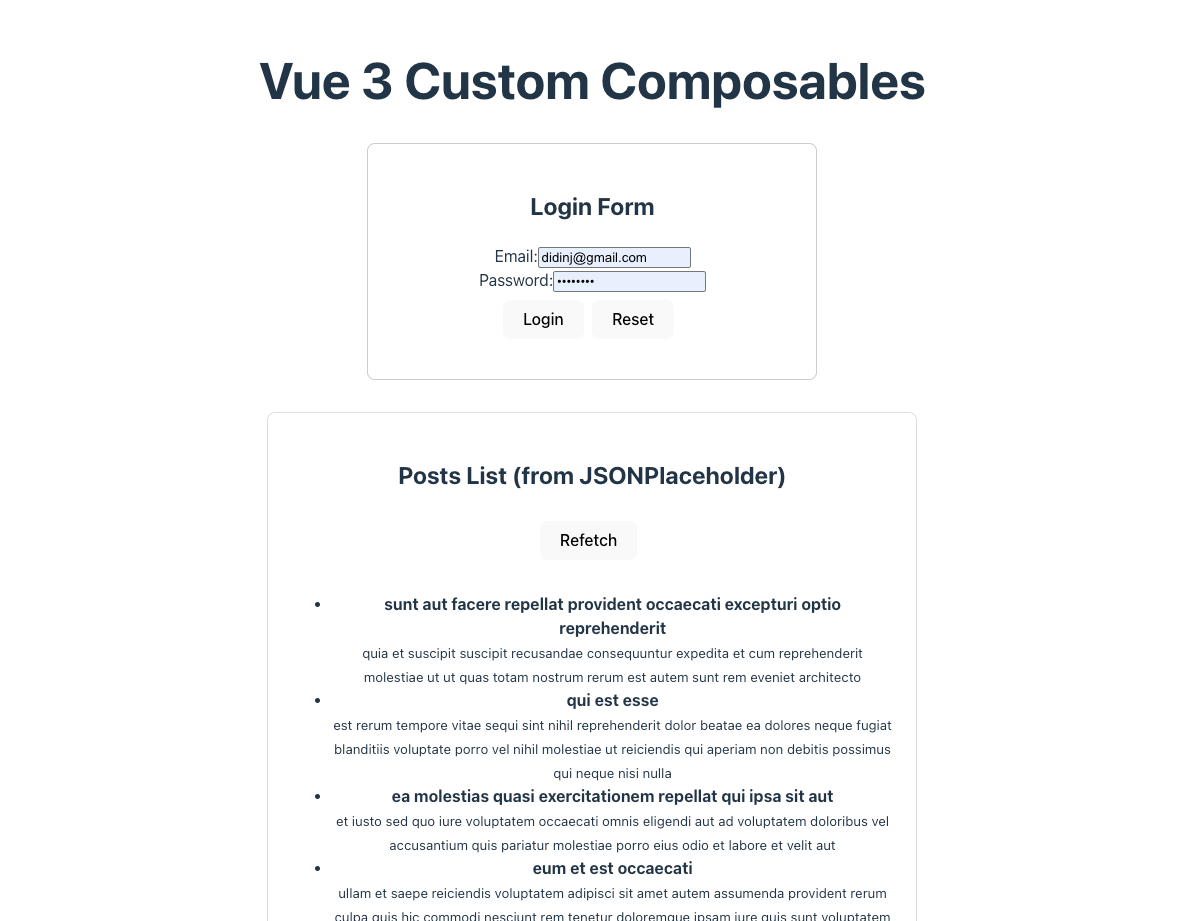
Step 2: Create a Component to Use It
Create PostsList.vue inside src/components/:
<template>
  <div class="posts-container">
    <h2>Posts List (from JSONPlaceholder)</h2>

    <button @click="refetch" :disabled="loading">Refetch</button>

    <div v-if="loading">Loading...</div>
    <div v-else-if="error" class="error">Error: {{ error }}</div>
    <ul v-else>
      <li v-for="post in data" :key="post.id">
        <strong>{{ post.title }}</strong><br />
        <small>{{ post.body }}</small>
      </li>
    </ul>
  </div>
</template>

<script setup>
import { useFetch } from '../composables/useFetch'

const { data, error, loading, refetch } = useFetch(
  'https://jsonplaceholder.typicode.com/posts'
)
</script>

<style>
.posts-container {
  max-width: 600px;
  margin: 2rem auto;
  padding: 1.5rem;
  border: 1px solid #ddd;
  border-radius: 8px;
}
.error {
  color: red;
}
button {
  margin-bottom: 1rem;
}
</style>
Step 3: Import into App.vue
Update App.vue to use this new component:
<template>
  <div class="app">
    <h1>Vue 3 Custom Composables</h1>
    <LoginForm />
    <PostsList />
  </div>
</template>

<script setup>
import LoginForm from './components/LoginForm.vue'
import PostsList from './components/PostsList.vue'
</script>
Step 4: Test It
-
On page load → posts will be fetched from JSONPlaceholder API.
-
While fetching → you’ll see Loading....
-
If something fails → an error message will appear.
-
Click Refetch → reloads the posts.
✅ Now we’ve built a reusable API fetching composable that handles data, loading states, errors, and refetching.
5. Best Practices for Composables
When you start using composables in real projects, it’s easy to end up with messy or inconsistent code if you don’t follow some conventions. Here are some best practices to keep in mind:
1. Use the use Prefix
By convention, composables should be named starting with use, such as useCounter, useForm, or useFetch.
-
✅
useAuth.js -
❌
authHelper.js
This makes it immediately clear that the function is a composable.
2. Keep Them Focused
A composable should handle one piece of logic only.
-
useForm→ manages form state and validation. -
useFetch→ handles API fetching. -
Don’t mix unrelated logic in the same composable.
3. Return Reactive References
Always return reactive values (ref, reactive, computed) instead of raw variables so consuming components stay reactive.
Example (good):
return { count, double }Instead of:
return { count: count.value }4. Make Them Configurable
Allow initial values, options, or parameters to be passed in.
For example, useCounter(initialValue = 0) lets you start from any number.
5. Avoid Side Effects Unless Needed
If possible, composables should be pure functions (no side effects like API calls on load).
-
If you need side effects (like in
useFetch), make them explicit (viarefetch()).
6. Organize in a composables/ Folder
Keep all composables inside a src/composables/ directory for consistency and discoverability.
-
You can even create subfolders if you have many (e.g.,
form/,api/).
7. Test Your Composables
Because composables are just functions, you can unit test them easily without mounting components.
Example (with Vitest):
import { useCounter } from '../src/composables/useCounter'
import { describe, it, expect } from 'vitest'

describe('useCounter', () => {
  it('increments count', () => {
    const { count, increment } = useCounter()
    increment()
    expect(count.value).toBe(1)
  })
})
8. Reuse Across Projects
If you notice a composable is generic enough, consider:
-
Moving it to a shared internal package.
-
Publishing it as an npm package.
-
Contributing to existing Vue utility libraries like VueUse.
✅ Following these best practices will ensure your composables are clean, reusable, and maintainable.
6. Conclusion
In this tutorial, we explored how to create custom composables in Vue 3 to make your code more reusable, organized, and maintainable.
Here’s what we covered:
-
✅ Built a simple counter composable with reactive state and computed values.
-
✅ Created a form handling composable with validation and reset functionality.
-
✅ Developed an API fetching composable with loading, error, and refetch support.
-
✅ Reviewed best practices for naming, structuring, and testing composables.
By extracting logic into composables, you:
-
Keep your components clean and focused.
-
Reuse common logic across multiple parts of your app.
-
Improve testability and maintainability.
Next Steps
-
Try refactoring some of your existing components into composables.
-
Build a library of reusable composables for your team.
-
Explore VueUse, a collection of hundreds of high-quality composables for inspiration.
With composables, you’re not just writing cleaner code — you’re building reusable logic blocks that make your Vue 3 applications more scalable and enjoyable to work on. 🚀
You can get the full source code on our GitHub.
That's just the basics. If you need more deep learning about Vue/Vue.js, you can take the following cheap course:
- Vue - The Complete Guide (incl. Router & Composition API)
- Vue JS - The Complete Guide [2025]
- Complete Vue Developer Bootcamp (Pinia, Vitest)
- Vue.js 3 Masterclass: Build 7 Real-World Apps
- Build Web Apps with Vue JS 3 & Firebase
- Vue.js 3 - The Complete Guide Interview Q&S
- Vue JS 3 For Modern Web Development - Beginner to Advanced
- Nuxt 3 & Supabase Mastery: Build 2 Full-Stack Apps
- Vue.js 3 Essentials: Build Dynamic Web Apps with Confidence
- Complete Vue.js 3 Course: Vuejs 3, Vite, TailwindCSS, Pinia
Thanks!